CentOS 7 – Easiest Way to Configure LVM KVM Pool for Virtual Machines
Configuring LVM in CentOS
When installing CentOS 7, be sure to only partition the hard drive with about 100GB of space for the OS file system itself. Leave the rest of the drive unpartitioned. After CentOS has been successfully installed, run gparted via a terminal using the below command:
sudo gparted
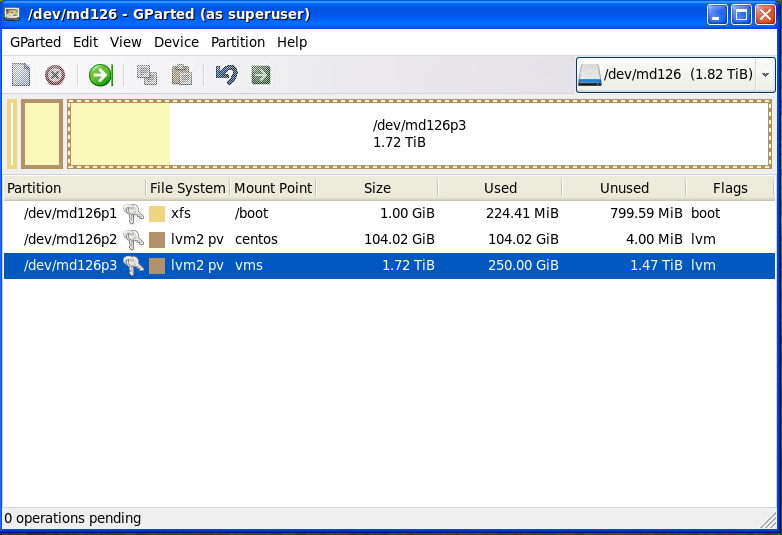
Create a new "LVM2 PV" file system based partition on the drive's remaining space like so:

Now, create the LVM volume group by using the below command and replacing /dev/md126p3 with the new partition's path label:
sudo vgcreate vms /dev/md126p3
Now, launch virt-manager by running the below command:
sudo virt-manager
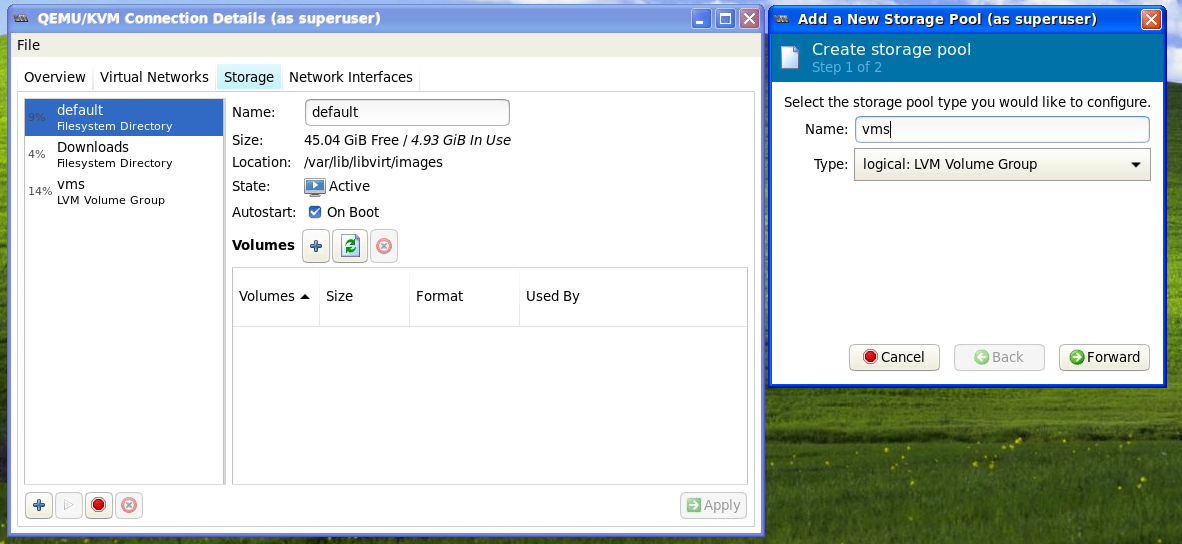
Go to "Edit" –> "Connection Details" –> click on the "Storage" tab. Click on the "+" icon on the bottom left. You're now creating a storage pool. Give it a name like "vms" which is short for virtual machines. Select "logical: LVM Volume Group" for the type. Here's a screenshot:

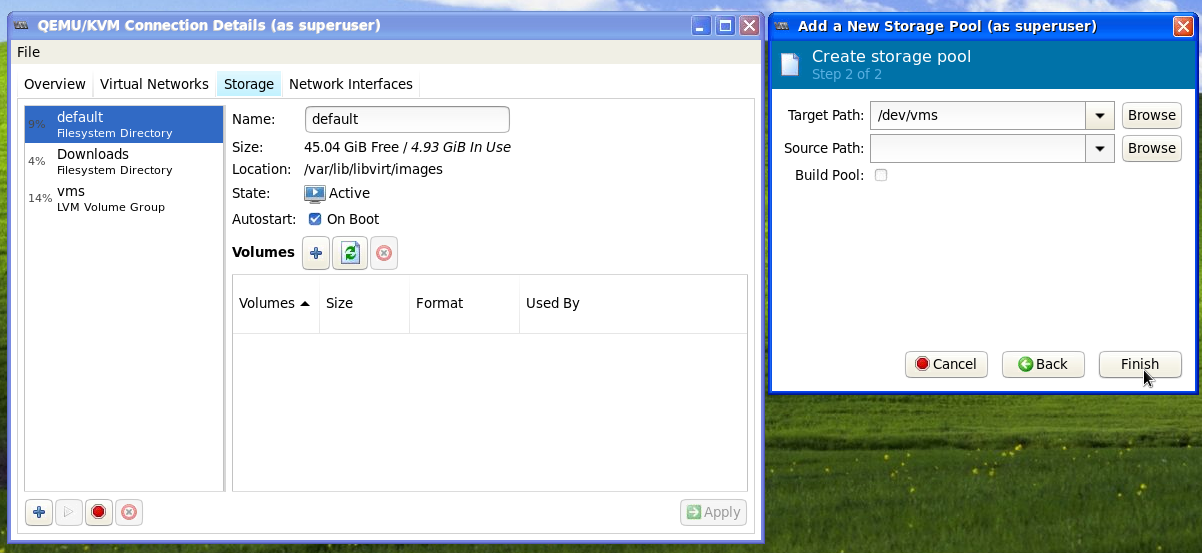
In "Target Path" select the volume group that you created named vms (which you did earlier using the "vgcreate" command). Do NOT check the "Build Pool" checkbox, and leave the "Source Path" field blank. Here's a screenshot of what it should look like:

Click on "Finish". You're done, and you can now create LVM storage containers for your KVM configured pool named vms.
Here's a good LVM KVM Pool guide from RedHat that includes more information (though it's not as simple as following this guide).
Rent dedicated game servers from Chicago, Kansas City, Dallas Texas, Wilkes-Barre Pennsylvania, Arizona, Denver Colorado, California, Florida, and Sofia Bulgaria starting as low as $7.45 a month. We Be HostiN (https://webehostin.com)
Tags: centos, kvm, lvm, machine, machines, pool, virt, virtual
